Registering Password Sync in Task Scheduler
[ Note ]
In this application, English is not fully supported as a display language.
Please switch operating system language to Japanese.
- Log in as the Windows user used for scheduled Password Sync executions.
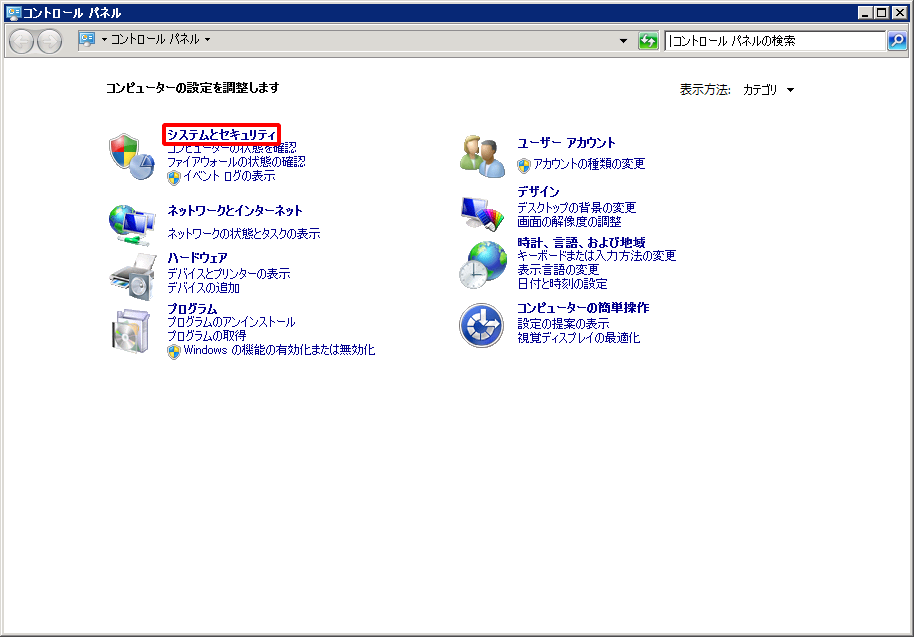
- Click "システムとセキュリティ" in the Control Panel.
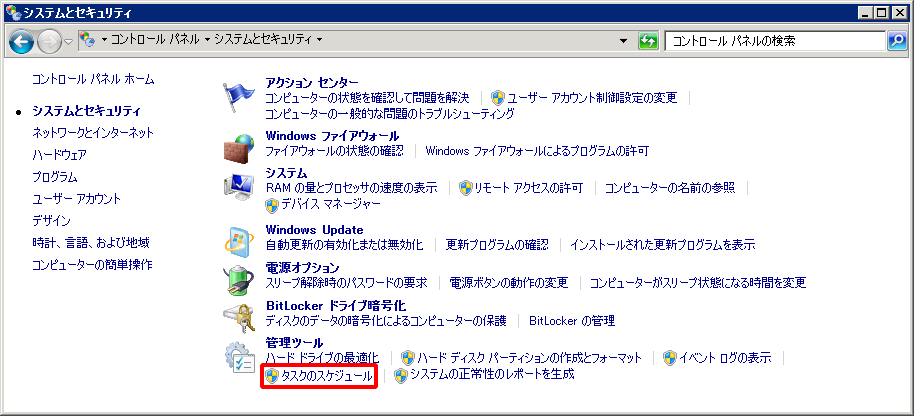
- Click "タスクのスケジュール."
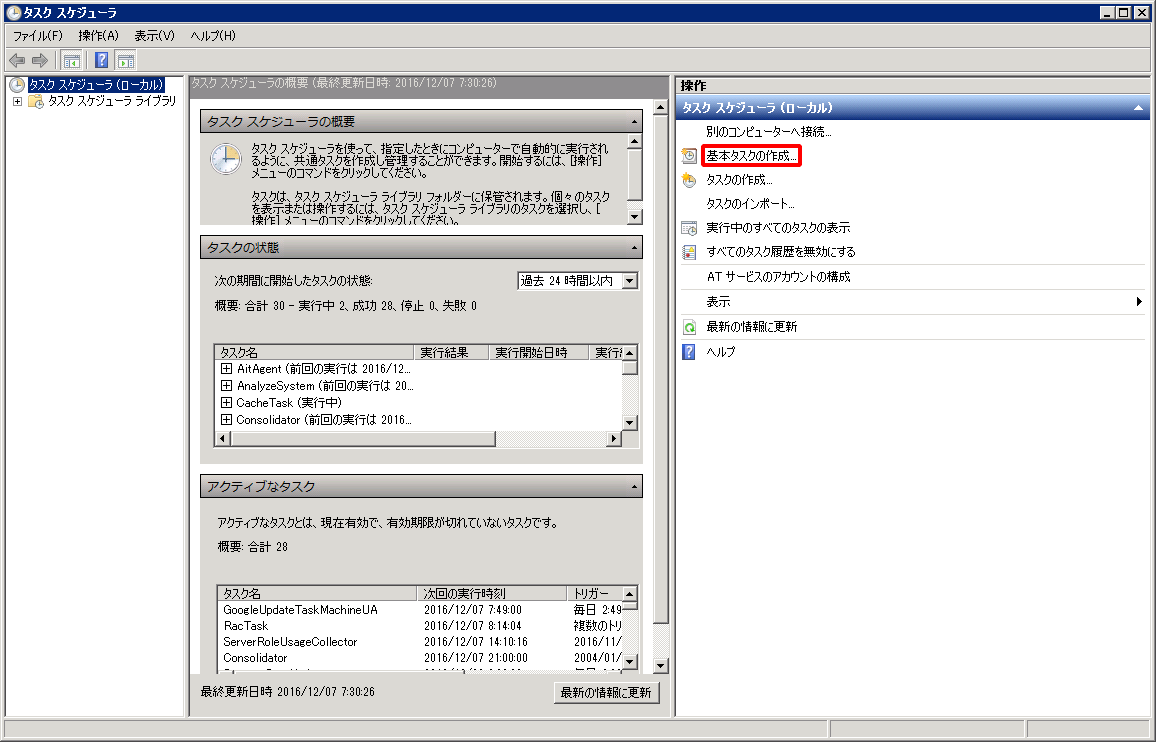
- Click "基本タスクの作成" in the right pane.
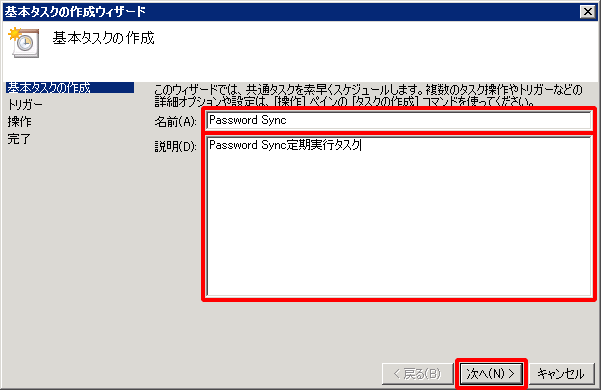
- Enter a name and description for the task and then click "次へ."
- Select the trigger (timing) to execute the task and then click "次へ."
Select the trigger to execute the task as appropriate for your environment. In this example, the "毎日" trigger is selected.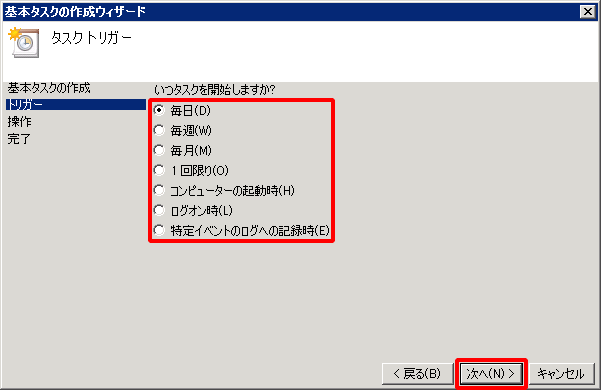
- Select the time to start the task, select the interval, and then click "次へ."
Select the time to start the task and the interval as appropriate for your environment.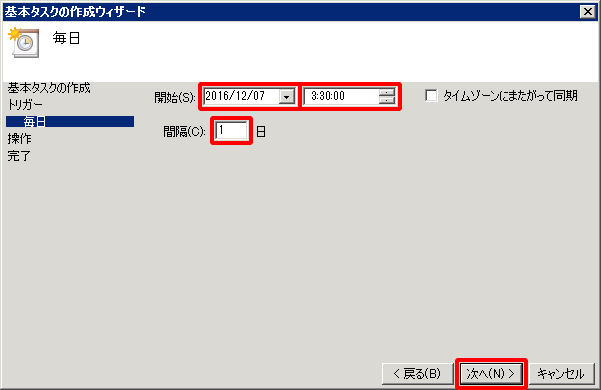
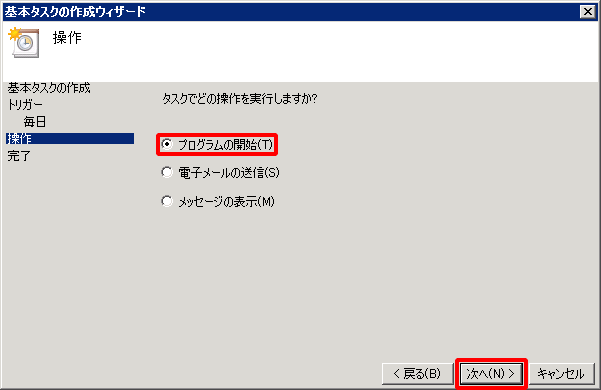
- Select "プログラムの開始" and then click "次へ."
- Specify the Password Sync "bin\dequeue_password_sync_task.bat" file and then click "次へ."
If the program is installed at the default installation path, specify the "C:\Program Files\IIJ ID Service Password Sync\bin\dequeue_password_sync_task.bat" path.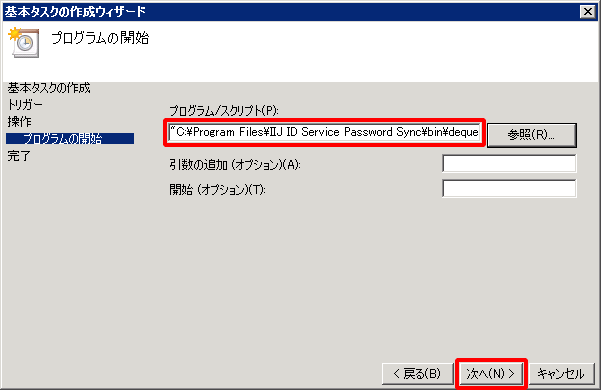
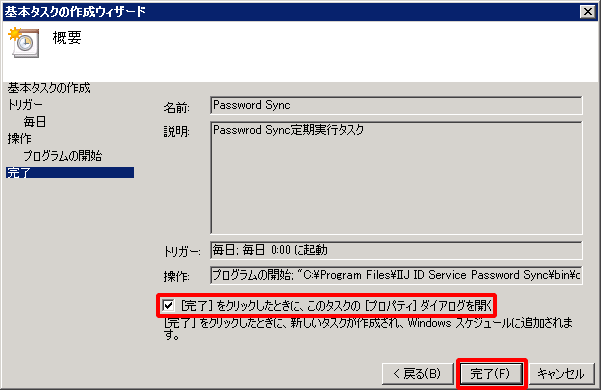
- Select the "[完了] をクリックしたときに、このタスクの [プロパティ] ダイアログを開く" check box and then click "完了."
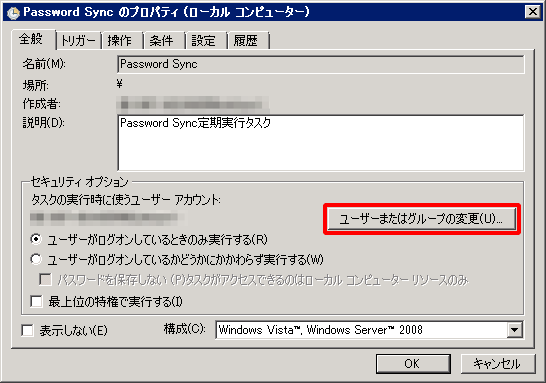
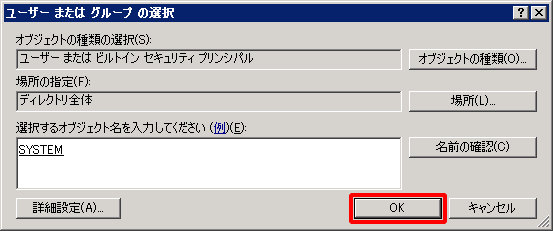
- Click "ユーザーまたはグループの変更."
- Enter "SYSTEM" as the name of the object to select and then click "名前の確認."
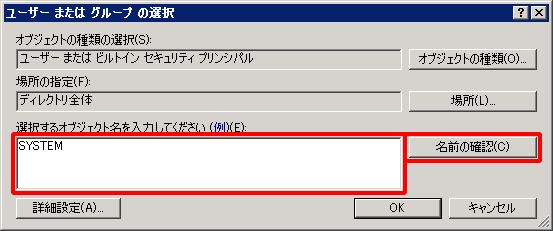
- Click "OK."
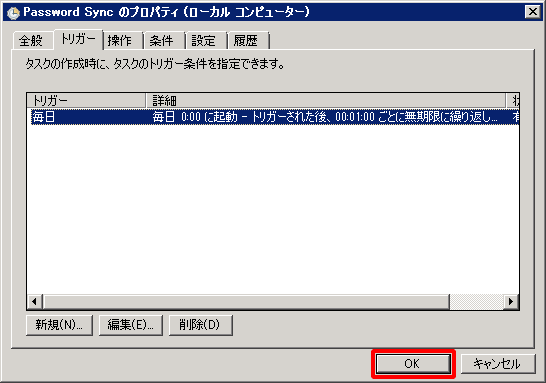
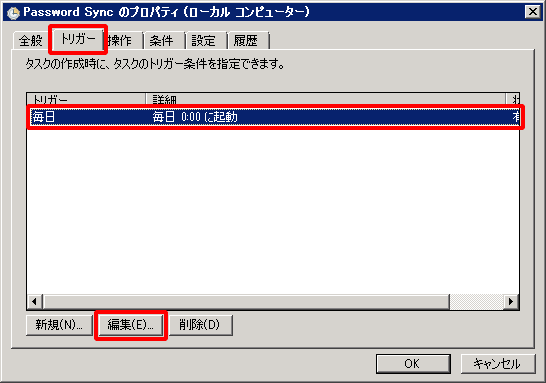
- Click the "トリガー" tab, select the trigger, and then click "編集."
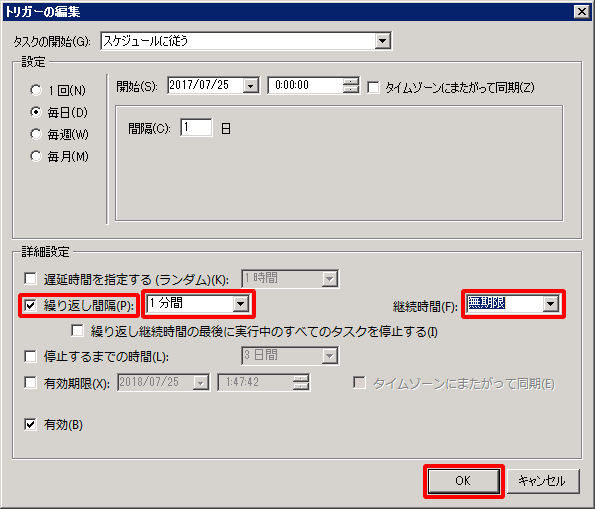
Change the value of "繰り返し間隔," select "無期限" for "継続時間," and then click "OK."
[ Reference ]
"繰り返し間隔" affects the time until passwords are provisioned. We recommend setting this to a value between "1分間" and "3分間."
- Click "OK" to complete the task creation process.