Preparation
Creating the Windows User Used to Execute Directory Sync
A Windows user used for scheduled executions of Directory Sync through the Task Scheduler must be created.
This user will execute Directory Sync on a schedule through the Task Scheduler.
This user must satisfy the following requirements.
- User is granted the privilege to log on as a batch job.
Configure the following settings in accordance with the applicable account environment to grant the privilege to log on as a batch user.
|
Account
|
Action
|
|---|---|
| An Active Directory user for the domain controller server under the Active Directory domain | In "Default Domain Controllers Policy" within the group policy, grant the "Log on as a batch job" privilege. |
| An Active Directory user for a server other than the domain controller under the Active Directory domain | In "Default Domain Policy" within the group policy, grant the "Log on as a batch job" privilege. |
| A Windows local account for a server not under the Active Directory domain | In "Local Security Policy," grant the "Log on as a batch job" privilege. |
Creating the User Used to Connect to Active Directory
Create an Active Directory user with privileges to view all users and groups that will be synchronized in Active Directory.
This user will perform authentication when Directory Sync establishes LDAP connections, and then will retrieve information on users and groups.
[ Reference ]
Configure access control as necessary for these Active Directory users.
Creating the IIJ ID User Used to Connect to the IIJ ID Service
Create an IIJ ID user used to send Active Directory changes to the IIJ ID Service and grant administrative privileges to this user.
Refer to "IIJ ID Service Online Manual [For Administrators]" for more information on creating IIJ ID users and granting administrative privileges.
[ Note ]
Do not delete or disable the IIJ ID Service user created for this purpose. If this user is deleted or disabled, the access token will be revoked and unusable.
Obtain an access token for the created IIJ ID user.
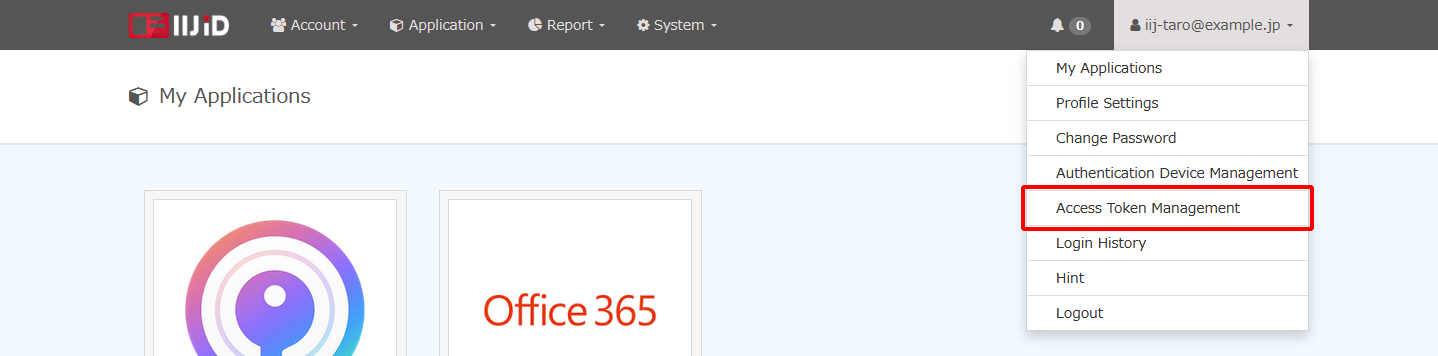
- Log in to "IIJ ID Console (https://www.auth.iij.jp/console/)" as the user created as described "Creating the IIJ ID User Used to Connect to the IIJ ID Service."
- Click the "Access Token Management" in "My Menu."
Click "Issue Access Token."

Configure "Access token name," "Resource server to use," "Granted scopes," and "Expiration date," and then click "Issue."
[ Reference ]
Configure expiration dates as appropriate in accordance with the usage of access tokens.
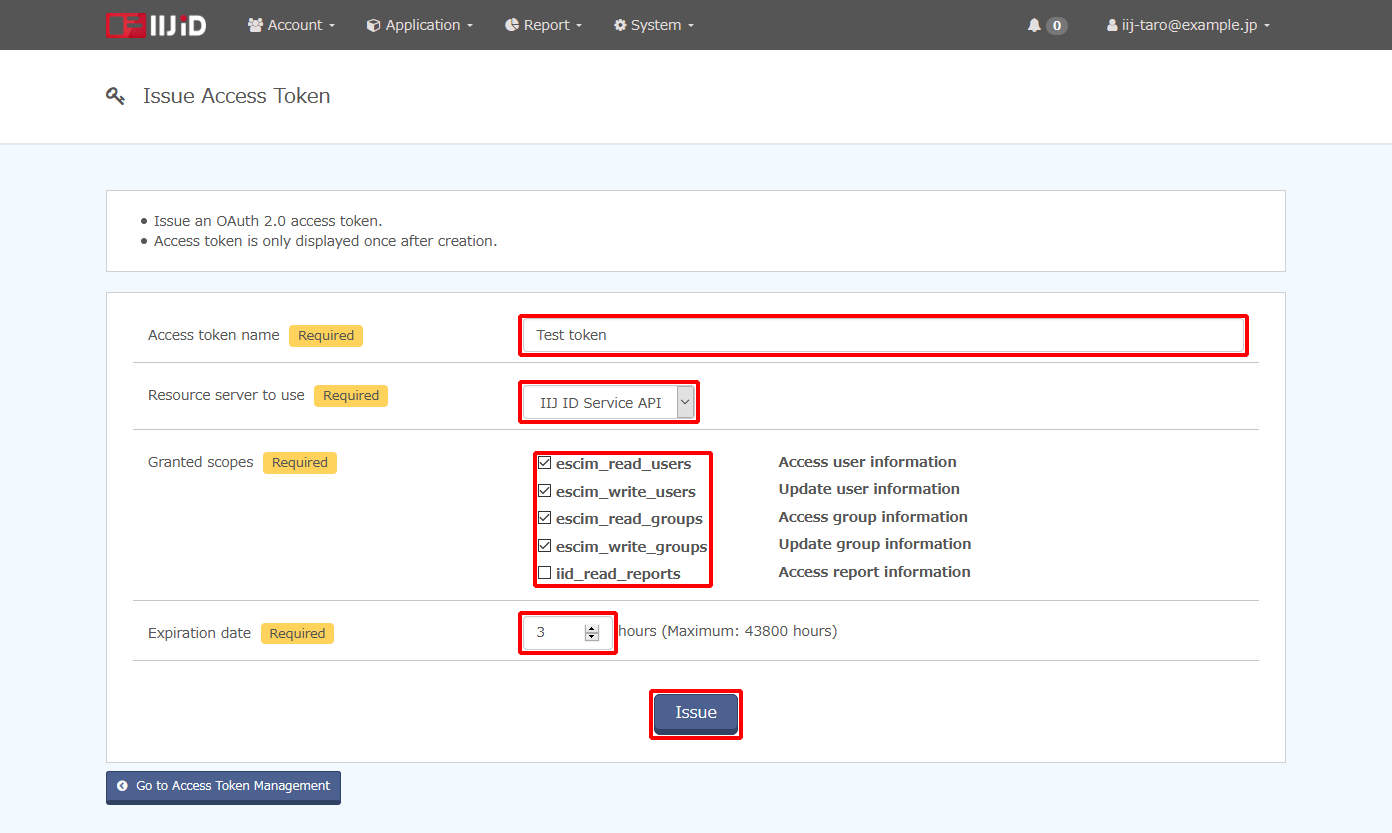
Option Description Access token name Enter the name of an access token. Resource server to use Select "IIJ ID Service API." Granted scopes Select the following four scopes:
- escim_read_users
escim_write_users
escim_read_groups
escim_write_groups
Expiration date Enter the expiration date of an access token.
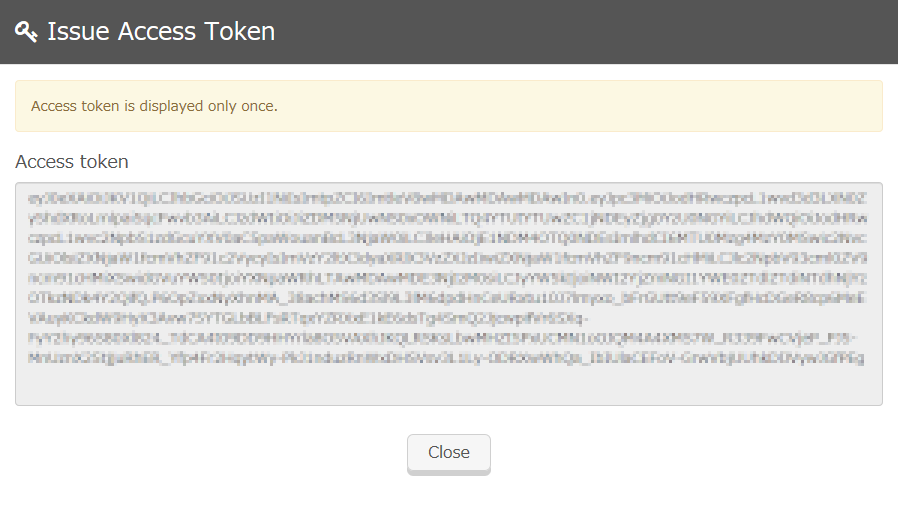
Expired tokens are revoked and not displayed in the access token list.The access token appears.
[ Note ]
Exercise caution regarding the handling of these access tokens.
[ Reference ]
- Access tokens can only be viewed right after they have been issued.
- If you forget the access token, you must revoke the access token and then issue a new one. Directory Sync must be updated with the access token.