Common Settings
Common Settings are provided to use the settings common to multiple contracts of the Managed DNS Service and DNS Traffic Management Service. You can define multiple configuration sets and select one to use for each zone or LB domain name.
[ Note ]
Common settings prepared in this section cannot be used until they are applied to the settings of each service. Make sure to apply common settings after you have prepared them.
When you have edited common settings in this section, the changes are automatically applied to each service.
List of Common Settings
Common settings that have been defined are shown in a list.
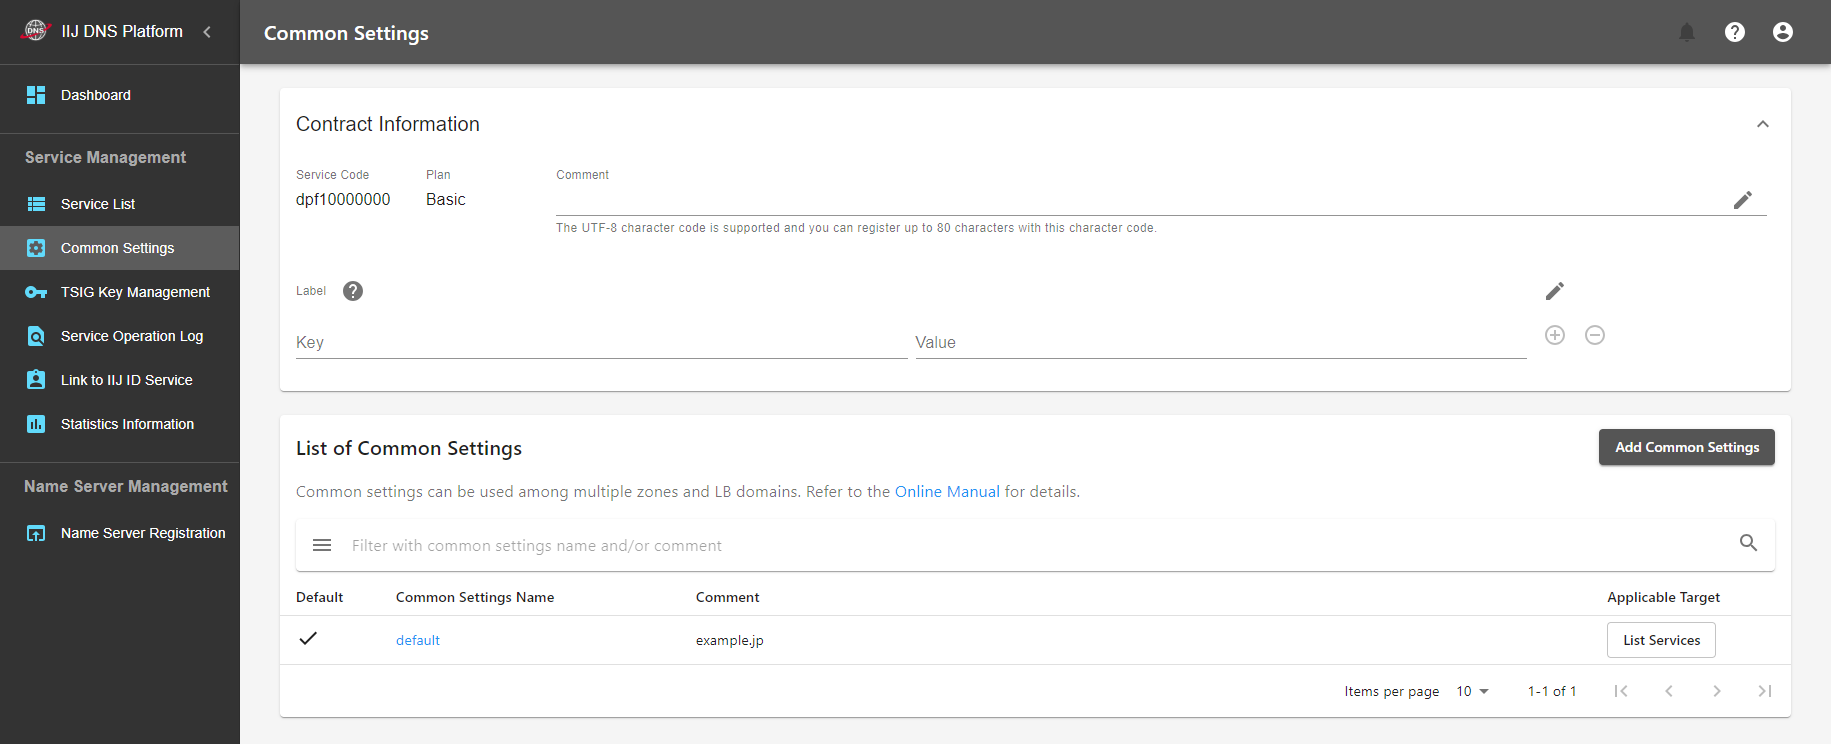
| Item | Description |
|---|---|
| Default | Common setting that is applied to a service to be newly added. |
| Common Settings Name | Displays the common settings name you specified arbitrarily at the time of creation. |
| Comment | Displays the comment you specified arbitrarily at the time of creation. |
| Applicable Target | Click "List Services" to display the list of services to which the common settings are applied |
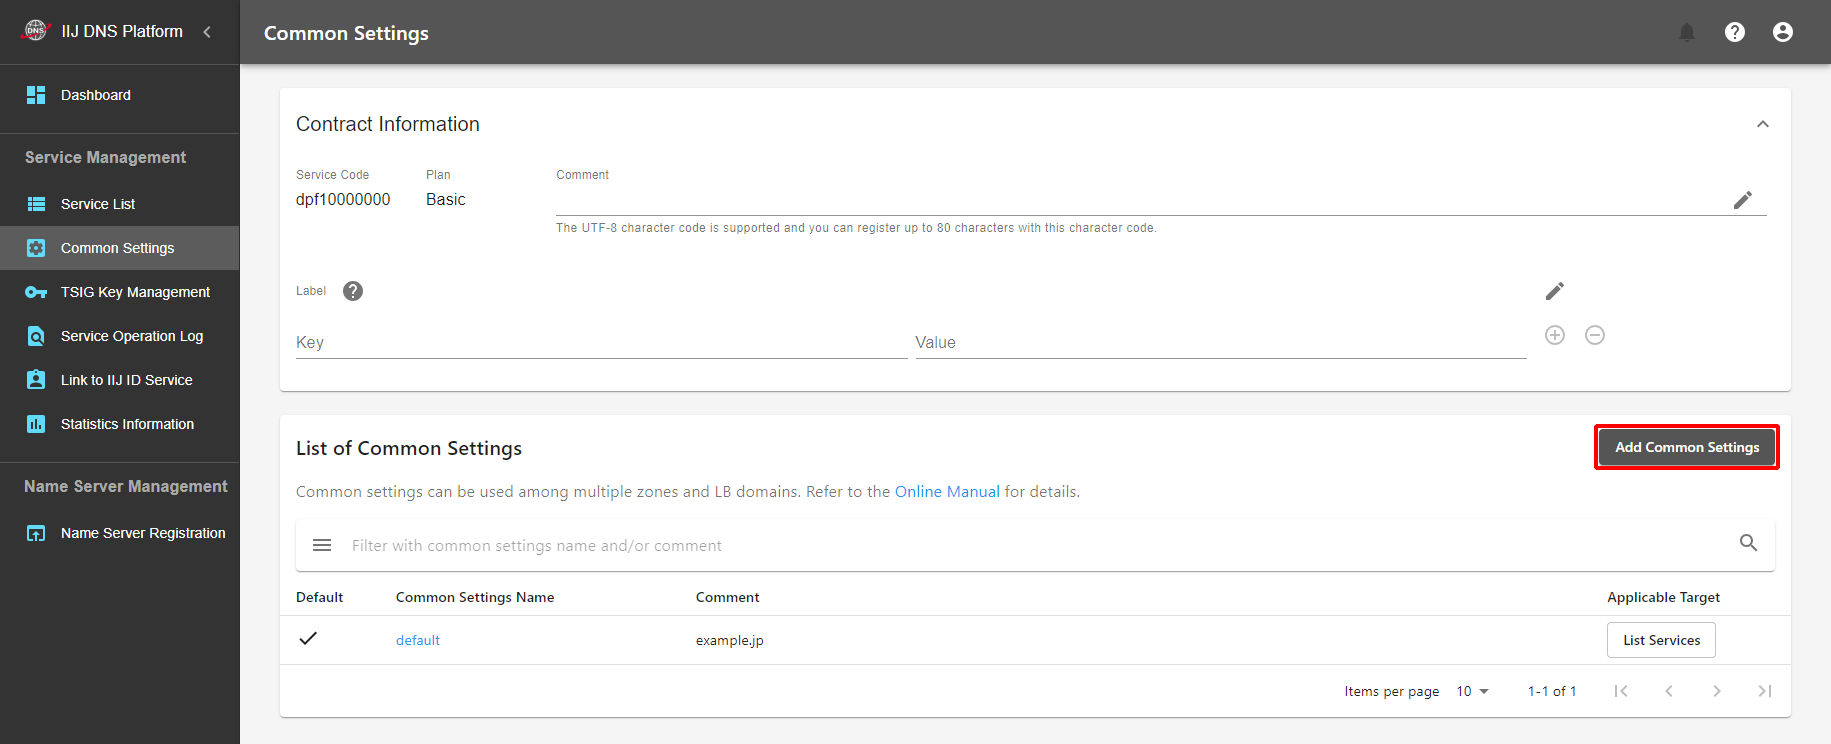
Add Common Settings
This section describes how to add common settings.
- Click "Add Common Settings."
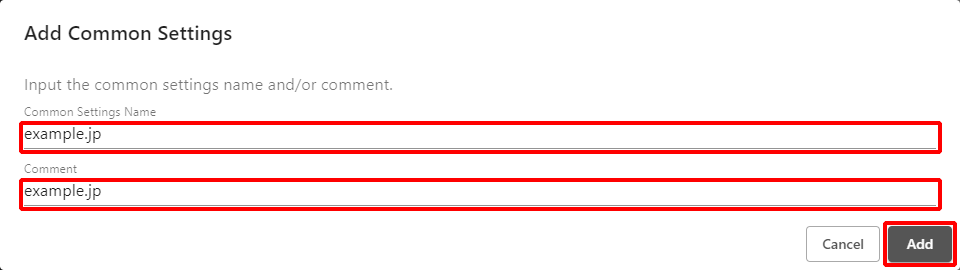
- Fill in "Common Settings Name" and "Comment," and then click "Add."
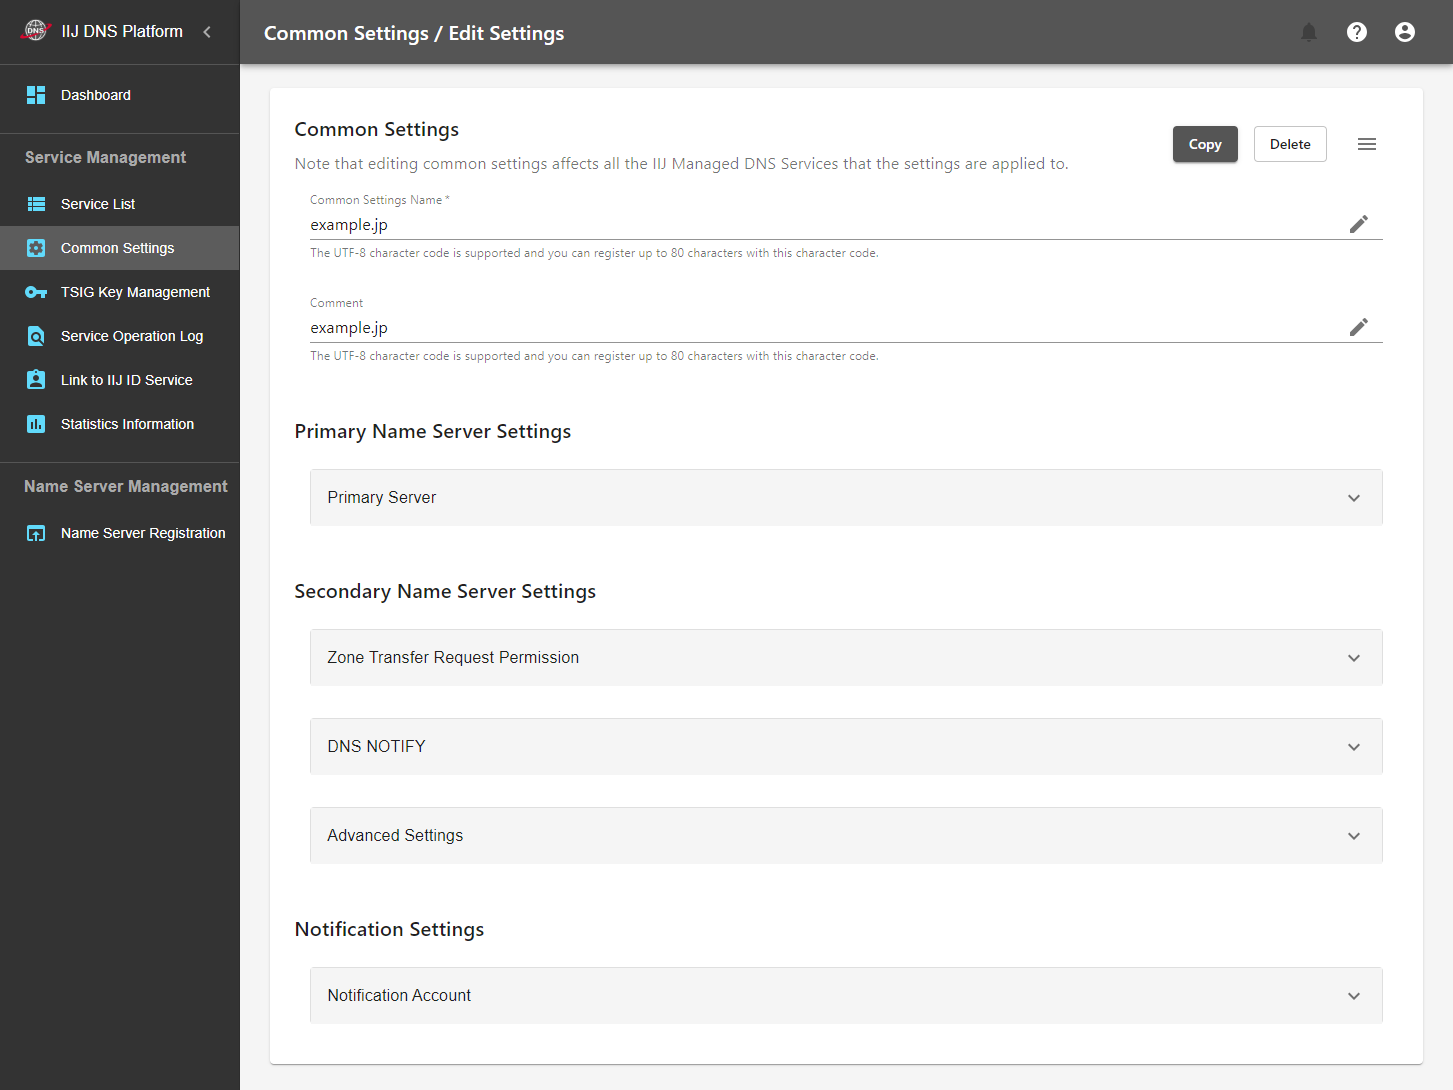
Edit Common Settings
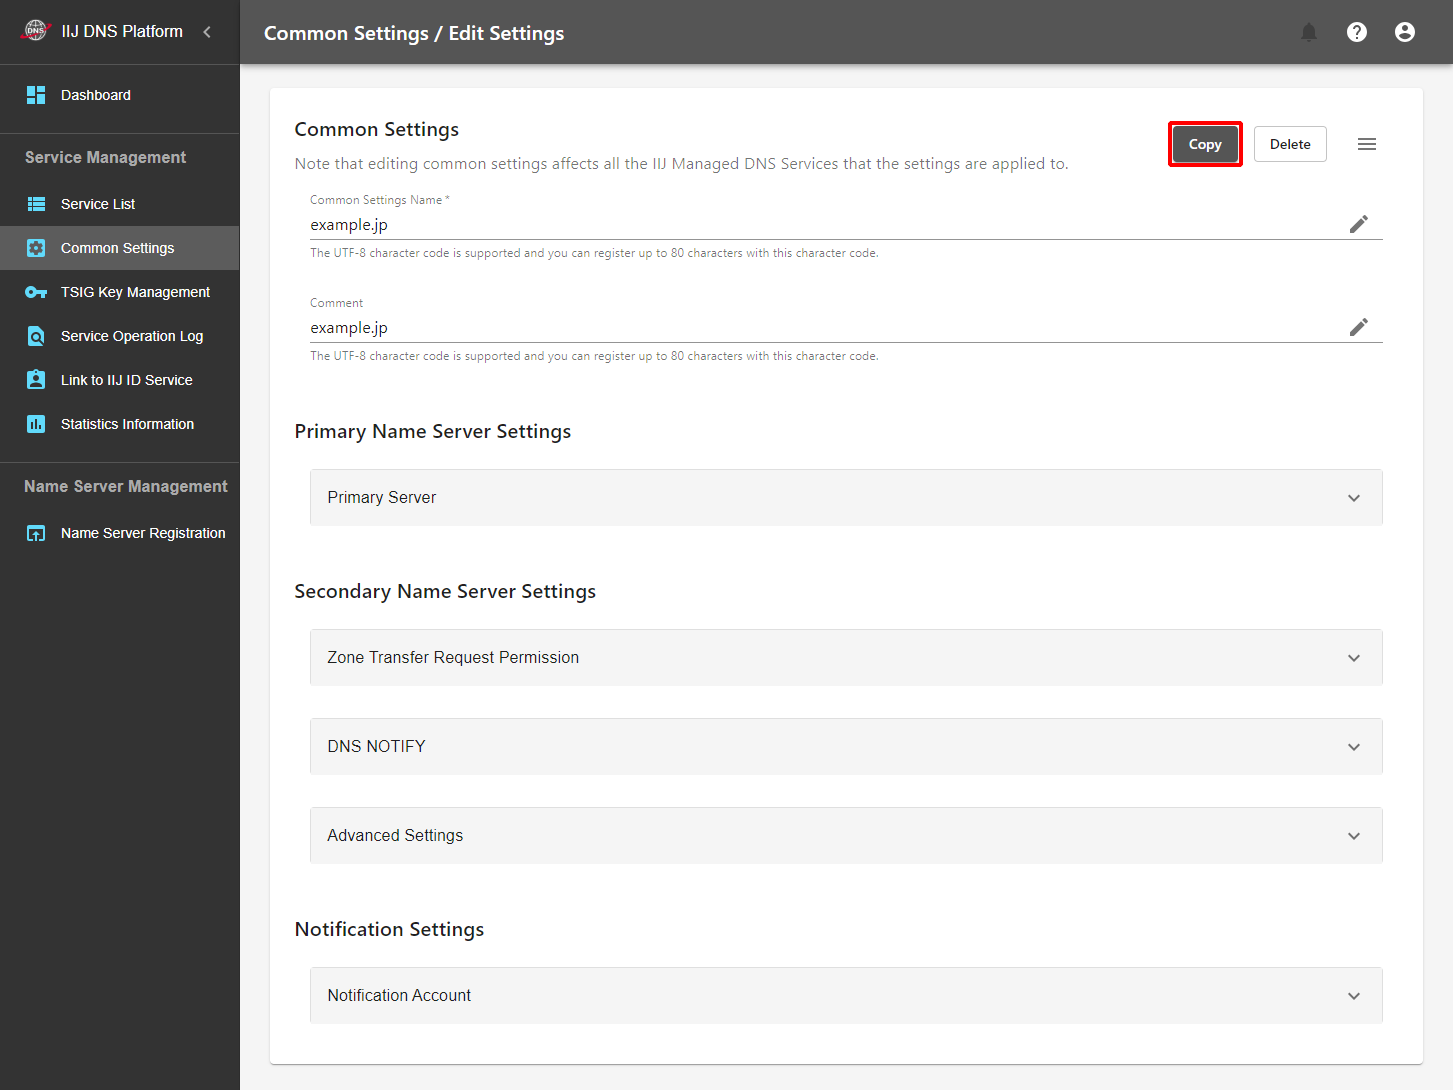
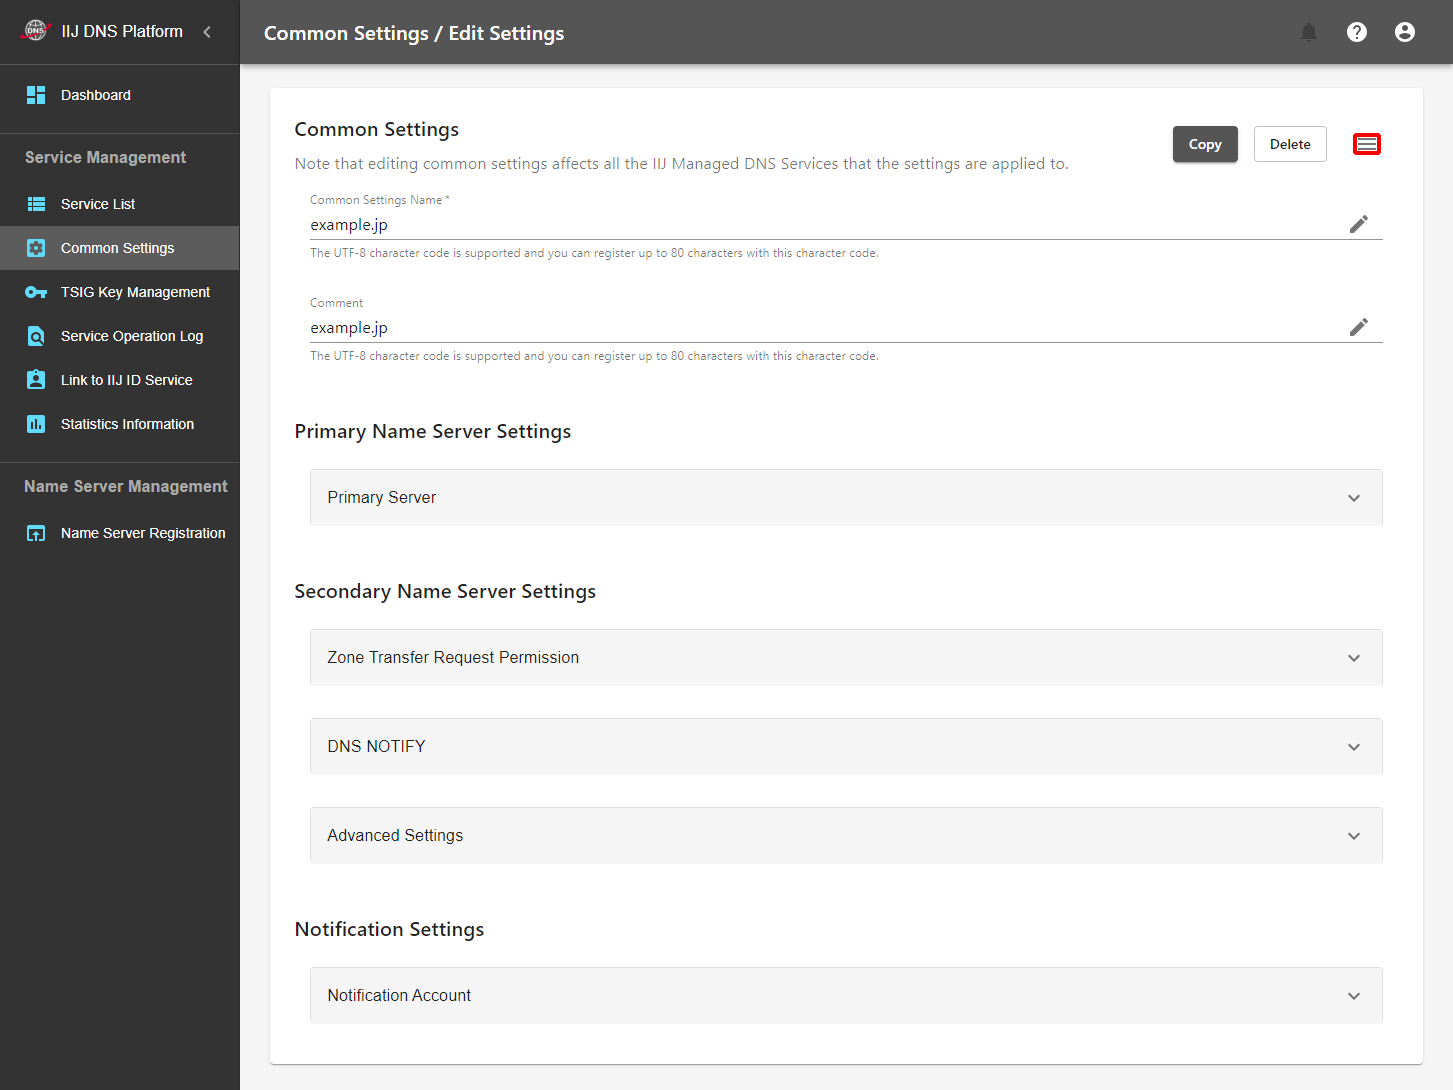
In the Edit Common Settings section, you can copy and delete common settings, display the list of services being applied, and change each setting.
Click the existing "Common Settings Name" on the list screen of common settings to display the setting edit screen.
Copy
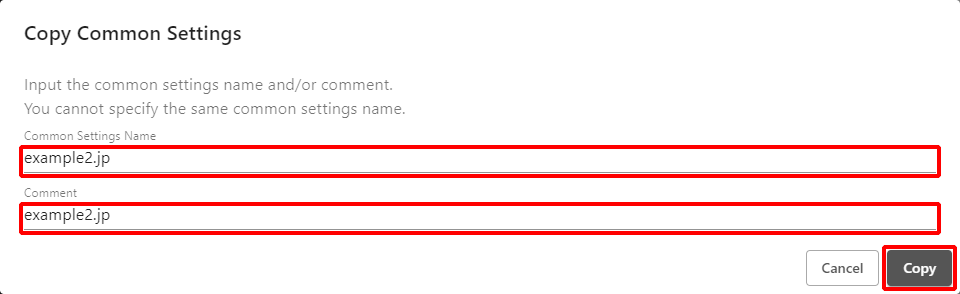
You can create common settings that have the same contents as those of the currently displayed common settings, giving them a different setting name.
- Click "Copy."
- Fill in "Common Settings Name" and "Comment," and then click "Copy."
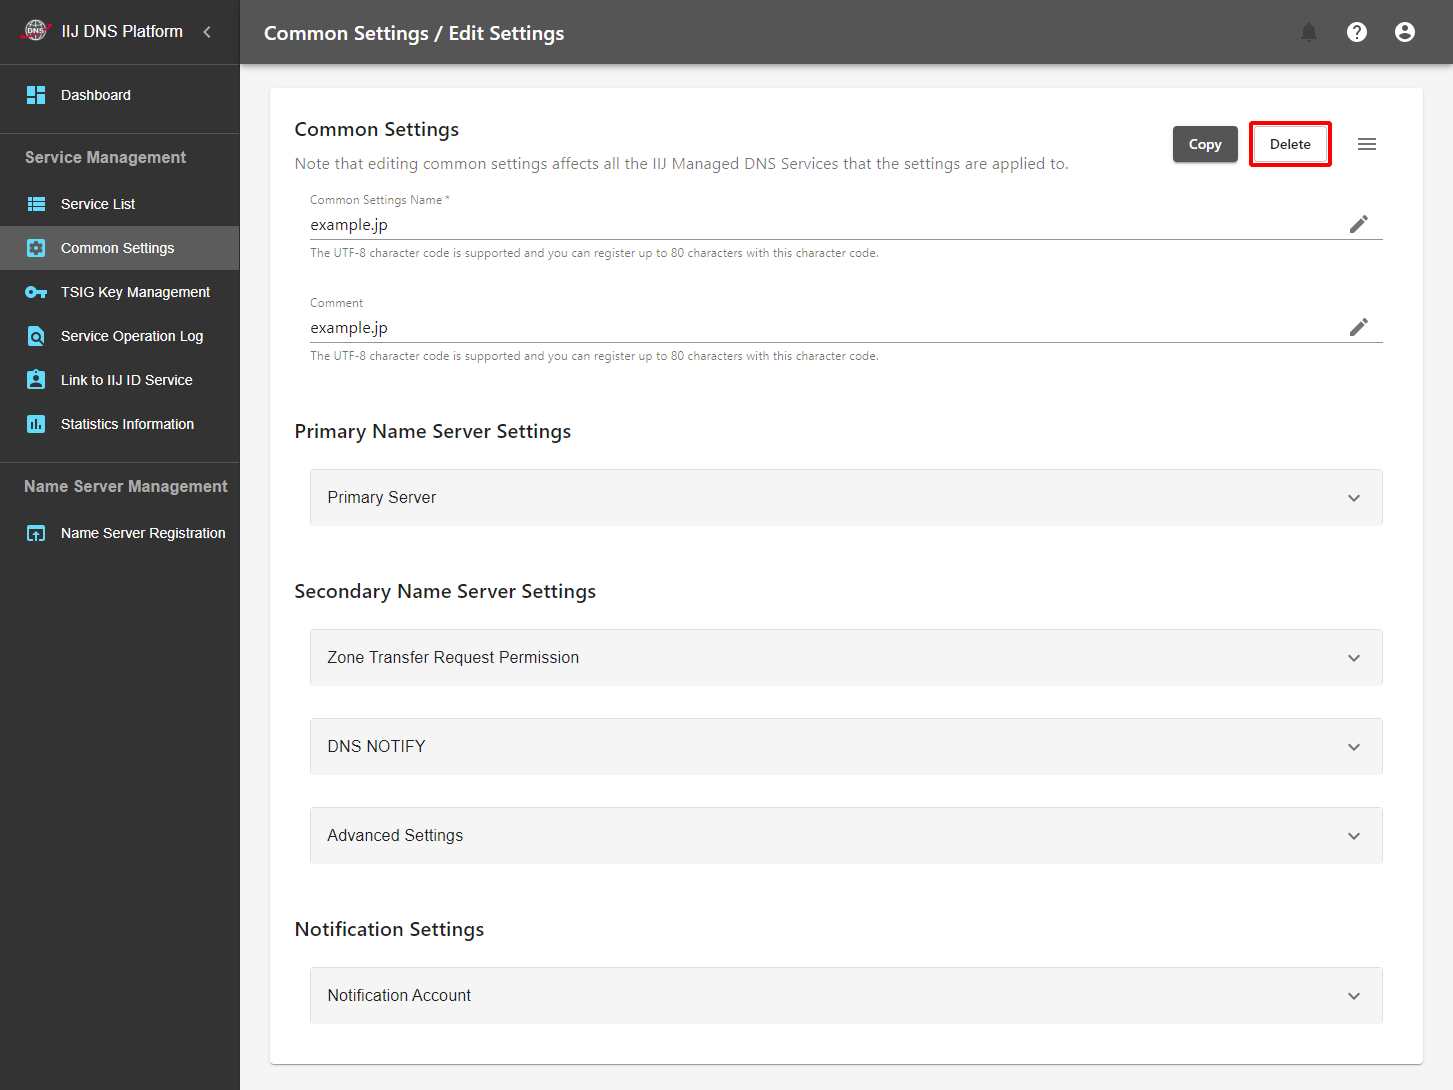
Delete
This section describes how to delete the currently displayed common settings.
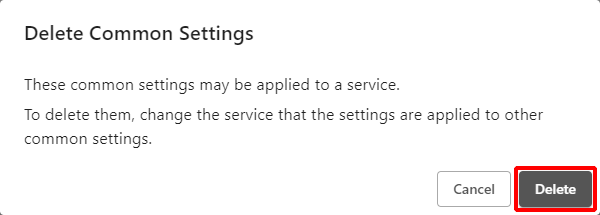
If there is even one service that is using the target common settings, you cannot delete the common settings. Note that it is not possible to restore common settings that you have deleted once.
- Click "Delete."
- Click "Delete."
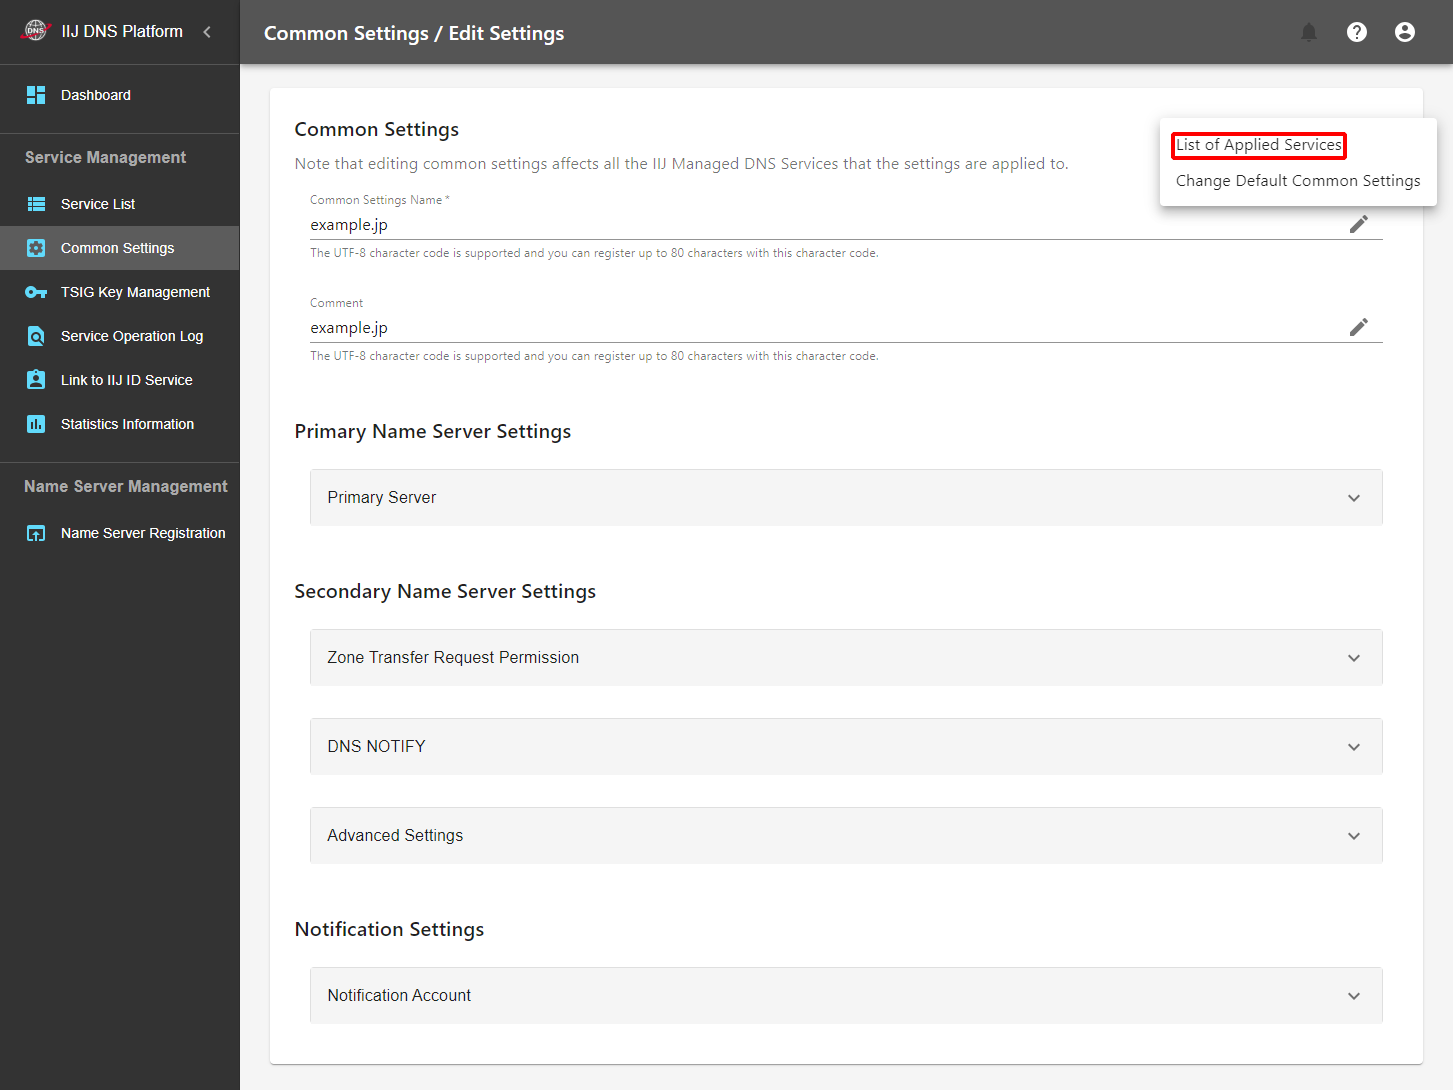
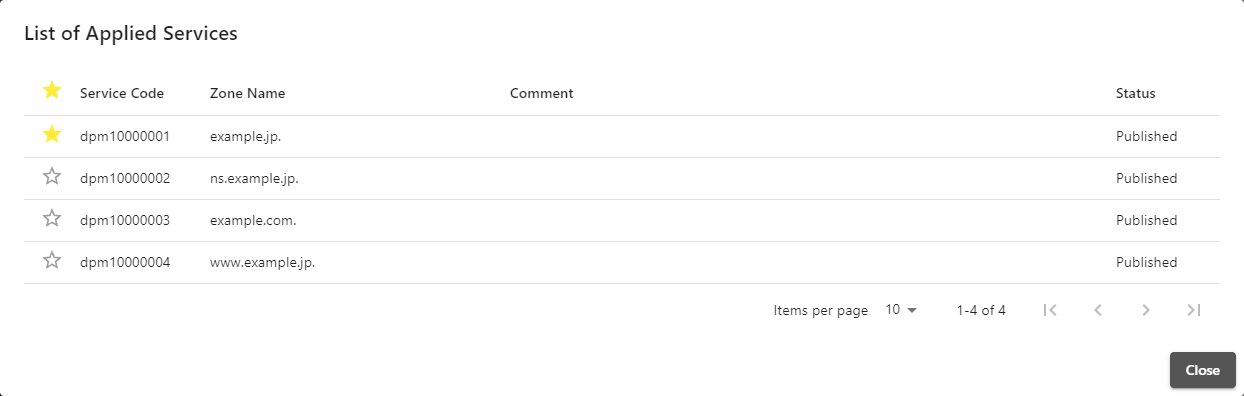
List of Applied Services
You can display a list of services that are using the currently displayed common settings.
- Click "
 ."
."
- Click "List of Applied Services."
- A list of applied services appears.
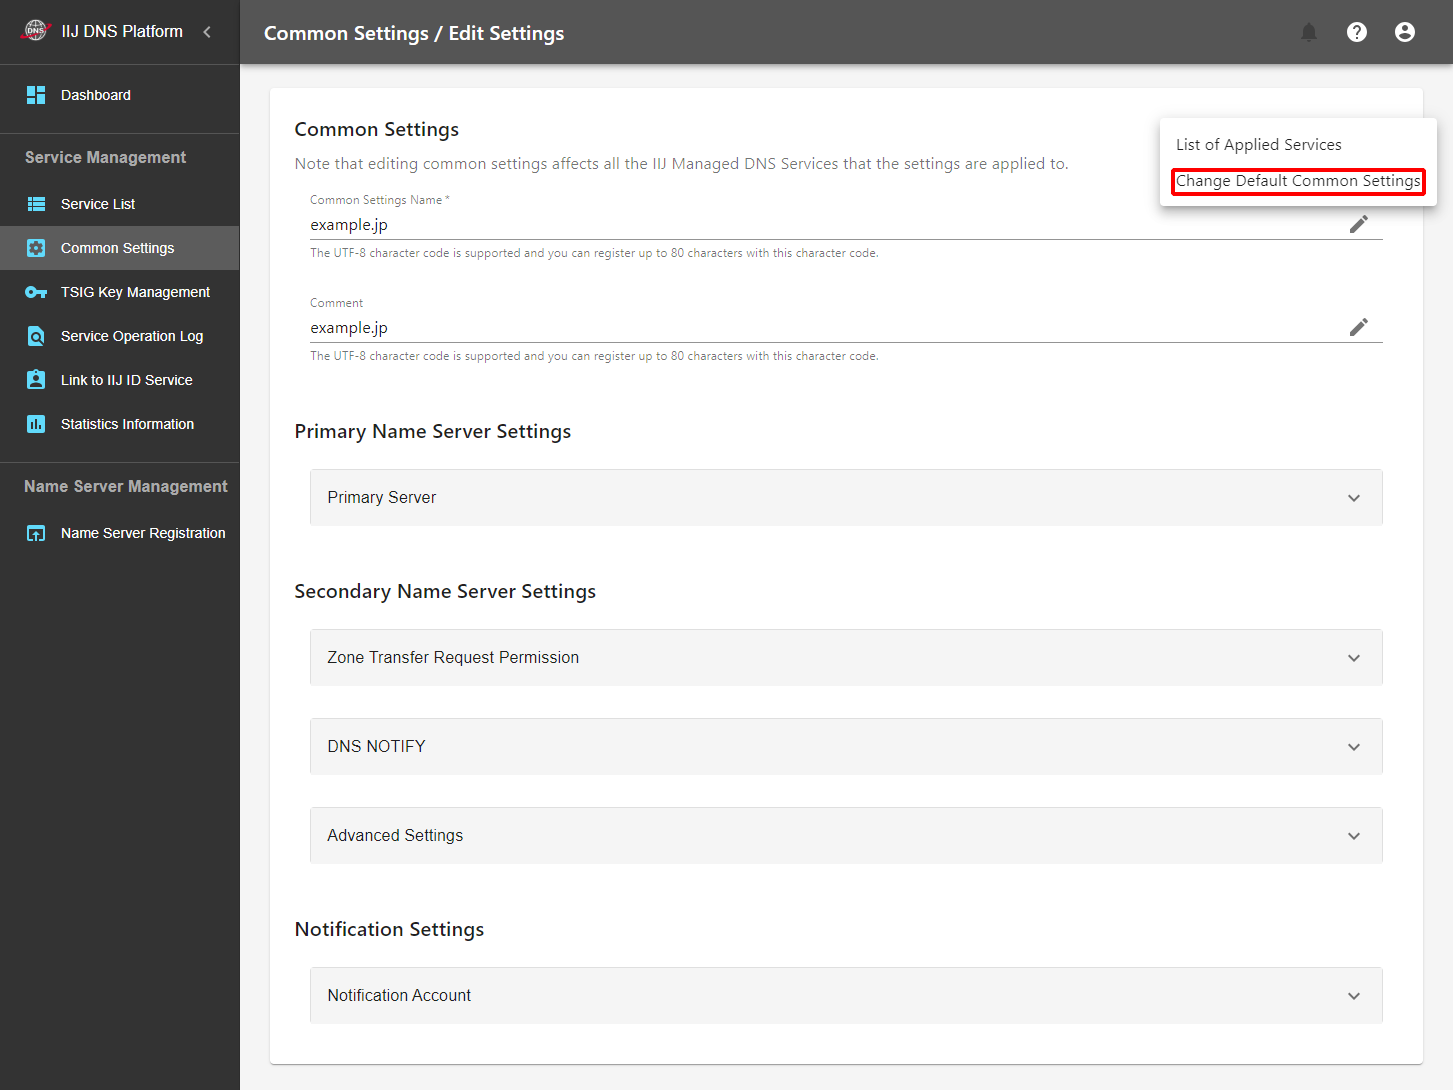
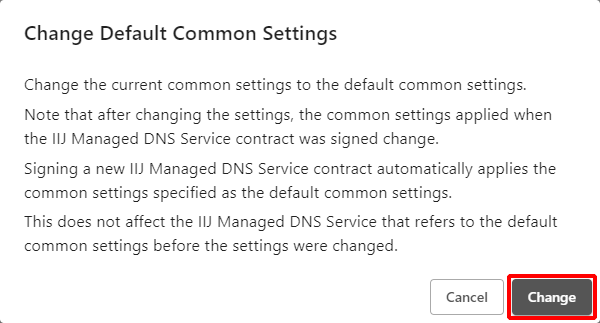
Change Default Common Settings
This section describes how to change common settings that are to be automatically applied when adding a new service to the currently displayed common settings.
[ Note ]
- Only one set of common settings can be used as the default common settings.
- If you change the default, the common settings that were used as the default are no longer applied when adding a new zone.
- Click "."
- Click "Change Default Common Settings."
- Click "Change."
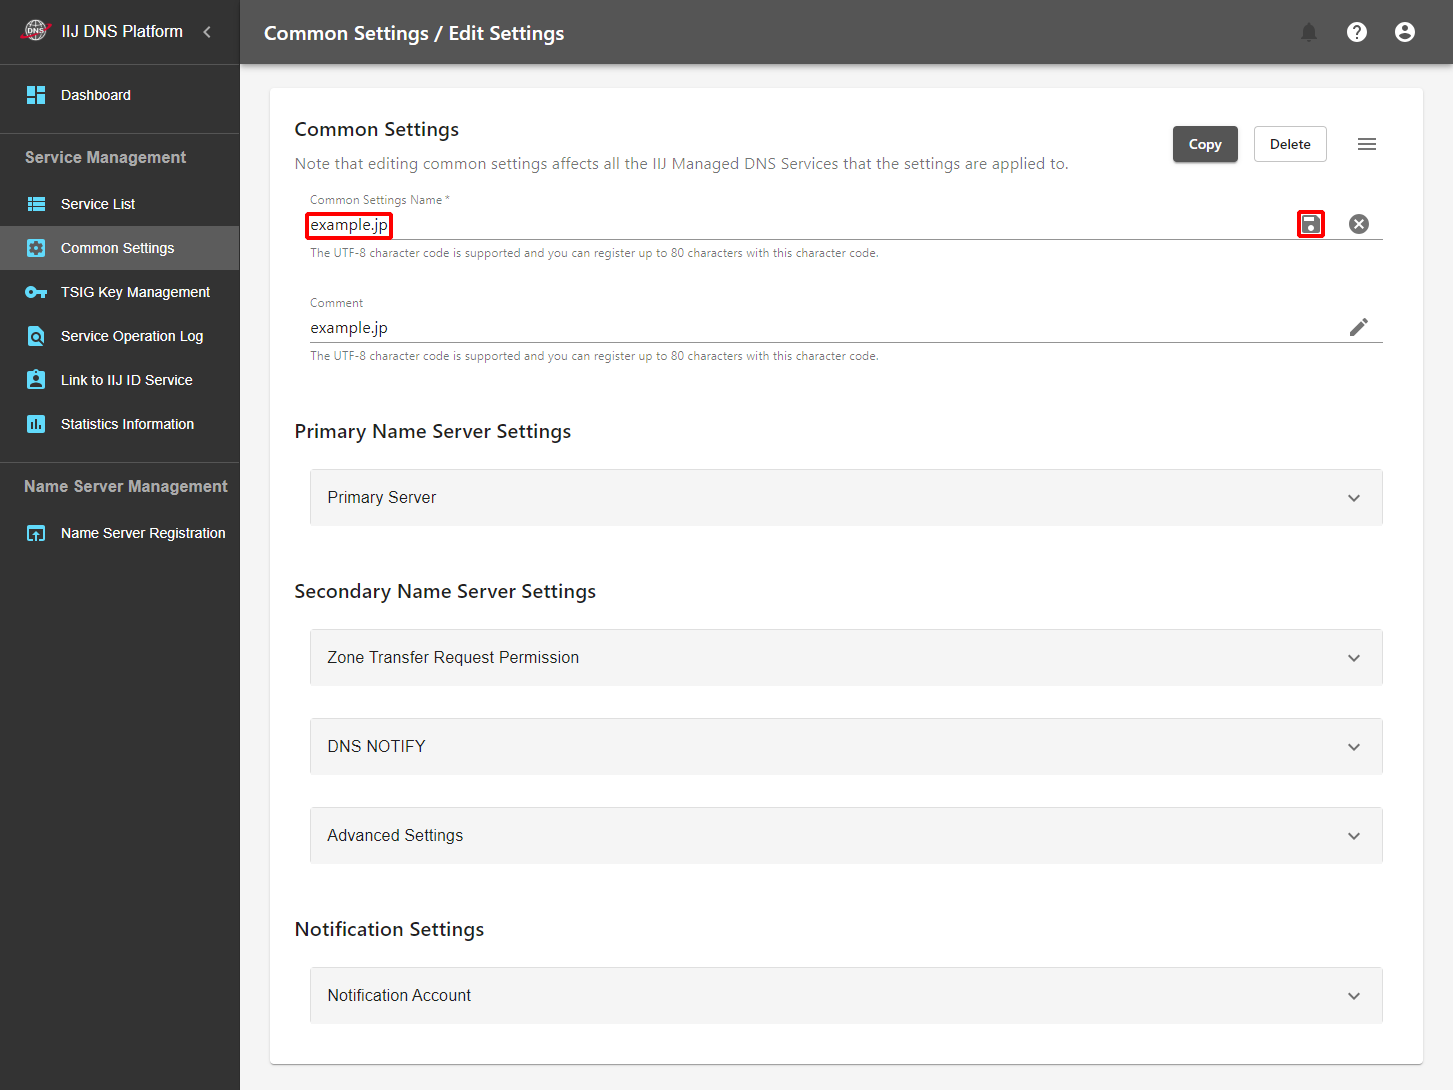
Common Settings Name
This section describes how to change the name of the common settings.
Common settings are continuously applied to services with a new setting name even after the setting name has been changed.
- Click "
 " of Common Settings Name.
- Change the Common Settings Name, and then click "
 ."
."
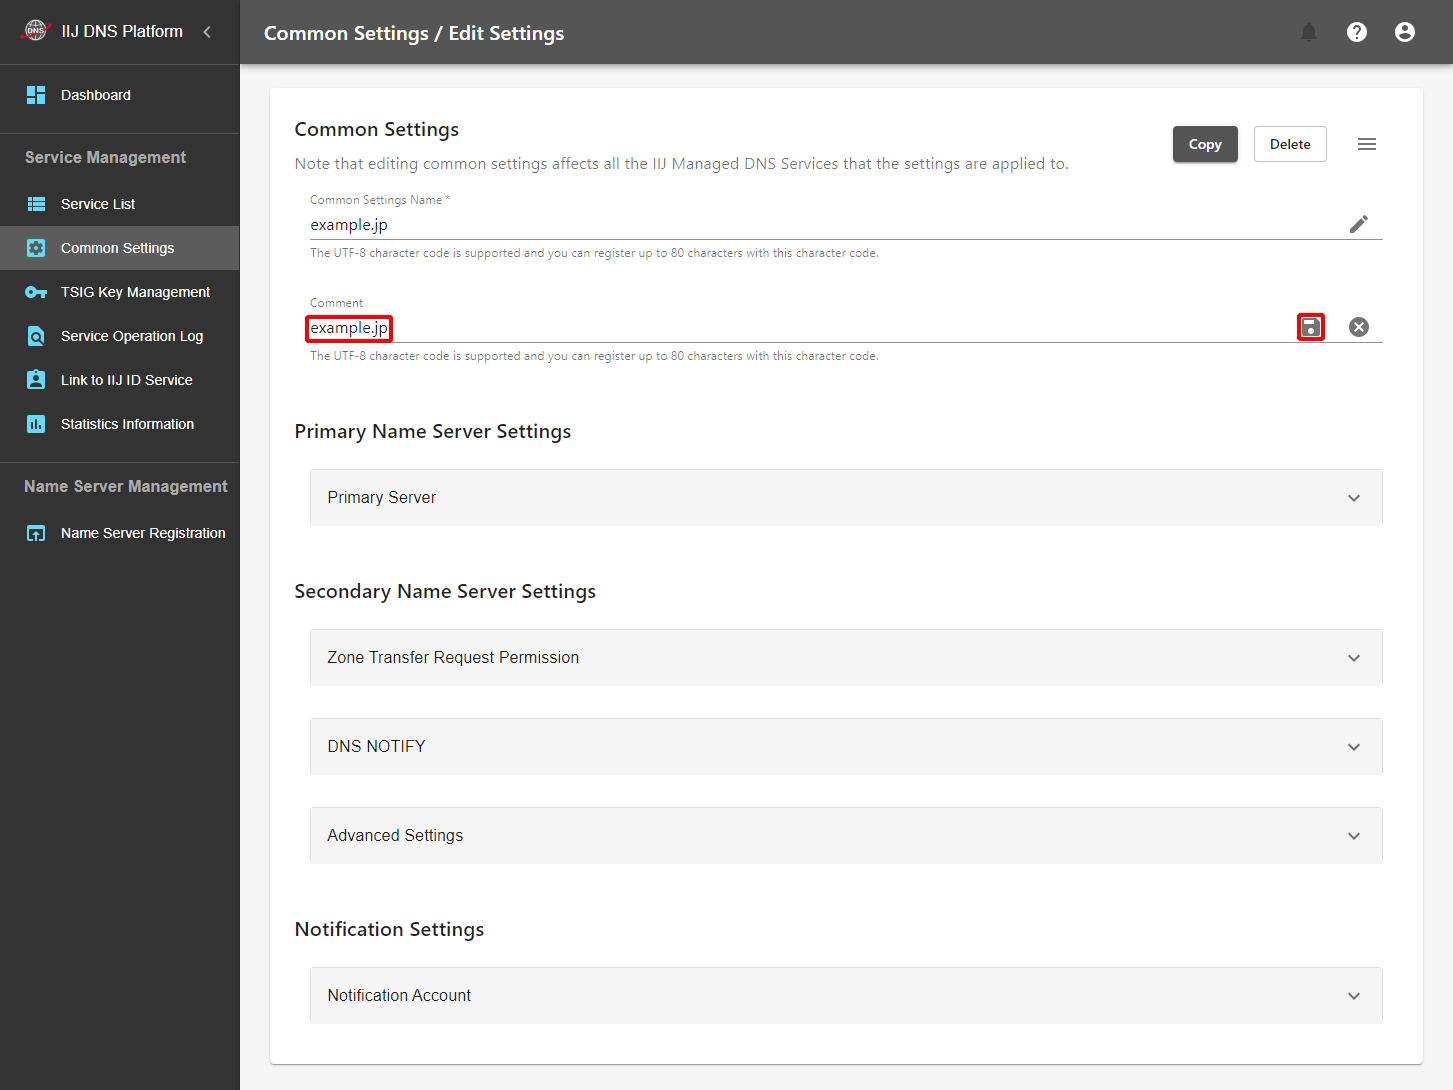
Comment
This section describes how to change the common settings comment.
- Click "" for Comment.
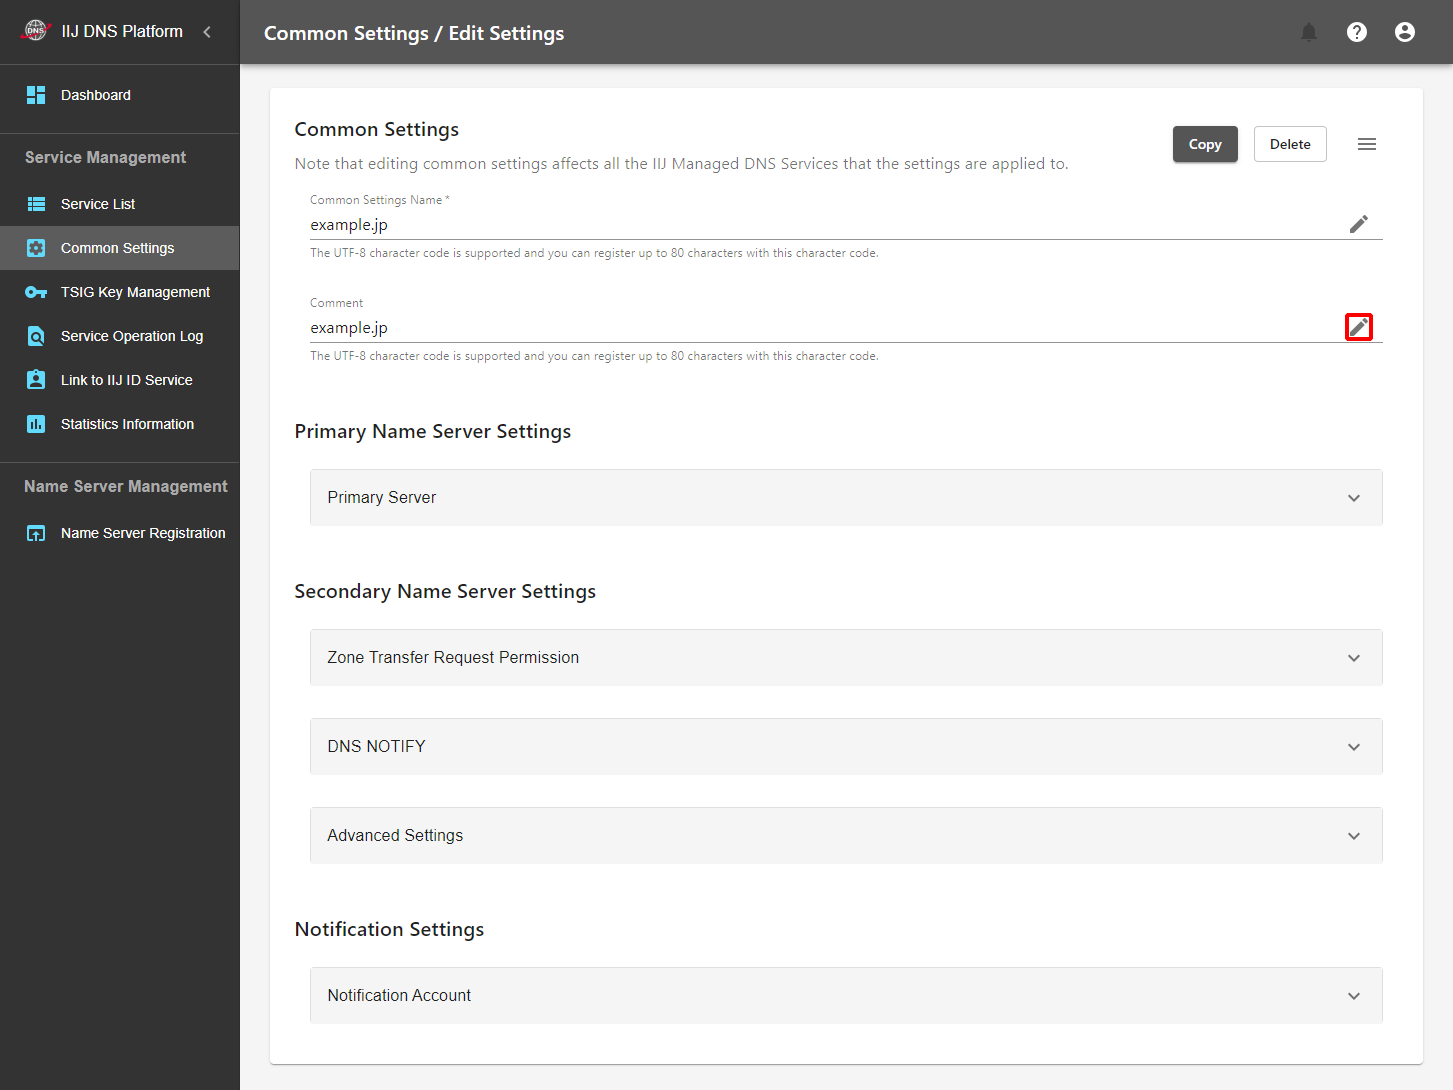
- Change the Comment, and then click "."
Primary Name Server Settings
You can set the primary name server you have prepared when using the Managed DNS Service as a secondary name server. The name server is not referenced for the DNS Traffic Management Service.
Up to 5 primary name servers can be set for each IIJ DNS Platform Service.
[ Reference ]
- To enable this setting, it is necessary to permit zone transfer from the DNS Platform Service in advance on the primary name server side. Refer to "IP Addresses Used by This Service" for information on the IP address range to be allowed.
- When you use the Managed DNS Service as the primary name server, leave this item blank.
- Confirm that the setting for "Secondary Name Server Settings" > "Managed DNS Server" is "Enabled." If the setting is "Disabled," you cannot use this service as a DNS server.
- Click "
 " for "Primary Server Address."
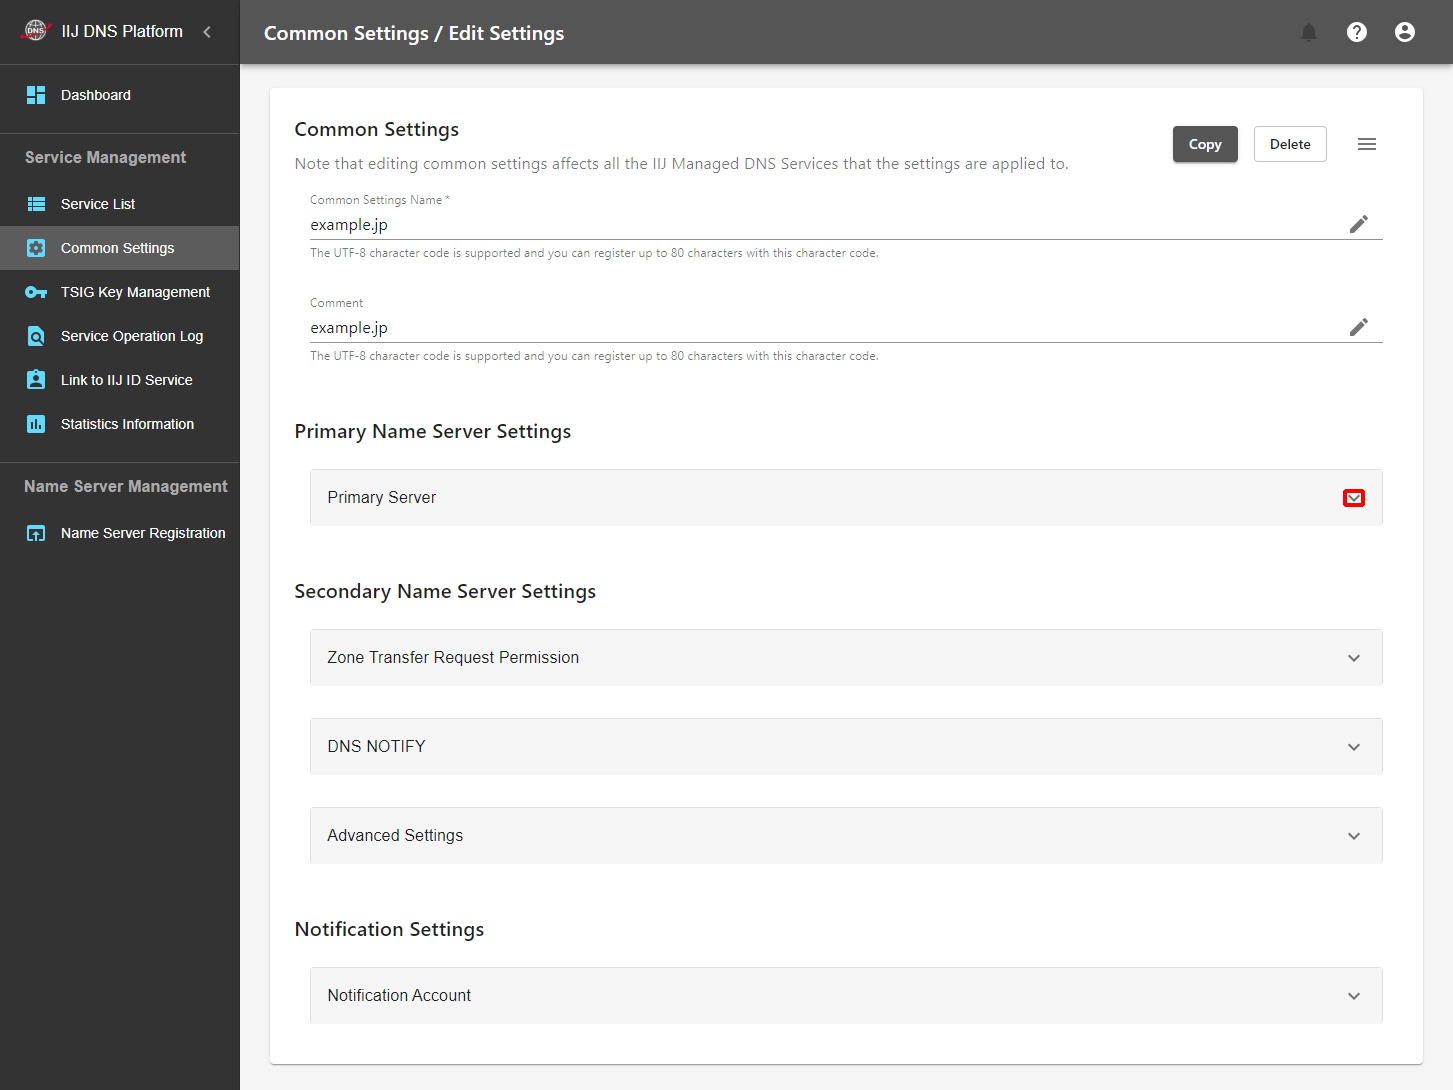
- Click the "
 " icon.
Fill in the following information about the primary name server, and then click "Add."
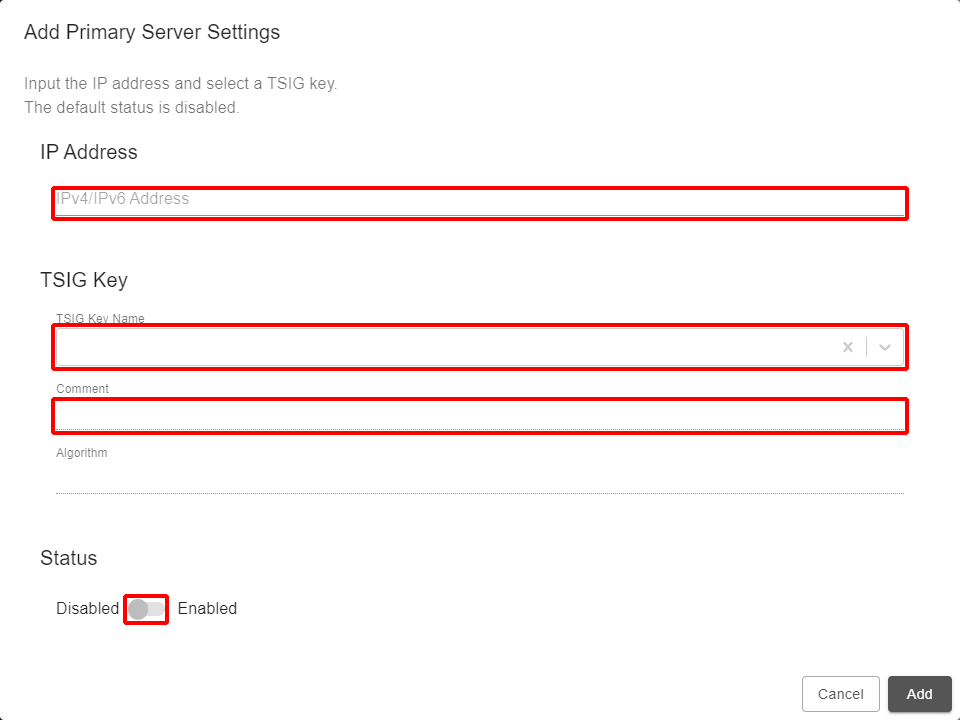
Item Description IP Address Enter the IP address of the primary name server used for zone transfer.
*If the IP address of the primary name server differs from that used to request zone transfer, enter the IP address used for executing a zone transfer.TSIG Key TSIG Key Name Select the TSIG key that you created in "TSIG Key Management." Comment Enter a comment. Algorithm Automatically input by setting the TSIG key. Status Enabled/Disabled You can switch between Enabled and Disabled by setting the switch.*When new settings are added, "Disabled" is set. To enable the item, click "
" after saving the settings, and then switch from "Update the Primary Server Address" to "Enabled."[ Reference ]
To delete the settings, click "
 ." Note, however, that settings whose status is "Enabled" cannot be deleted. To delete settings whose status is "Enabled," switch the status to "Disabled" on the editing screen and then delete the settings.
To edit existing settings, click "
."
Secondary Name Server Settings
You can set a secondary name server you have prepared when using the Managed DNS Service as the primary name server. The name server is not referenced for the DNS Traffic Management Service.
- Zone Transfer Request Permission
Set the IP address range, and a TSIG key, in which the secondary name server requests zone transfer. Setting a TSIG key is optional.
Up to 10 TSIG keys can be registered for one common setting.
[ Reference ]
If you do not use your secondary name server, leave these settings blank.
- Click "" in "Zone Transfer Request Permission."

- Click the "" icon.

Fill in the following information about Zone Transfer Request Permission settings, and then click "Add."
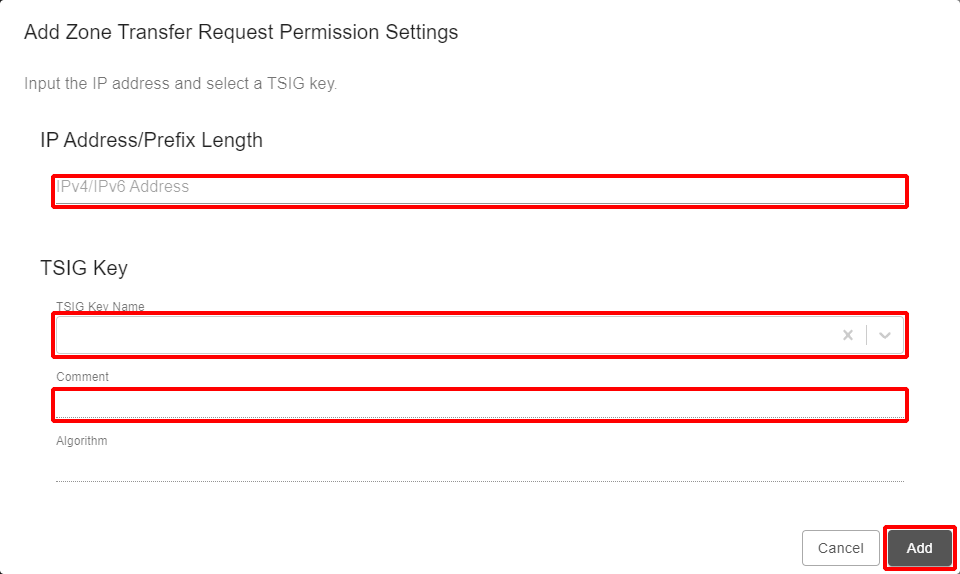
Item Description IP Address Enter the IP address of the secondary name server. *Enter it in the "IP address/prefix length" format. You can enter either IPv4 or IPv6.
*If the IP address of the secondary name server differs from that used to request zone transfer, enter the IP address used for executing zone transfer.TSIG Key TSIG Key Name Select the TSIG key that you created in "TSIG Key Management."
*If you set a TSIG key, zone transfer is permitted when access is attempted using the set IP address range and set TSIG key. (This setting is an AND condition.)Comment Enter a comment. Algorithm Automatically input by setting the TSIG key.
[ Reference ]
To delete the settings, click "."
To edit existing settings, click "."
DNS NOTIFY
This is a setting for notifying that zones have been changed for the Managed DNS Service to the secondary service that is to be prepared by you.
Up to 256 IP addresses can be registered for one common setting.
- Click "" of "DNS NOTIFY."

- Click the "" icon.

Fill in the following information about DNS NOTIFY settings, and then click "Add."
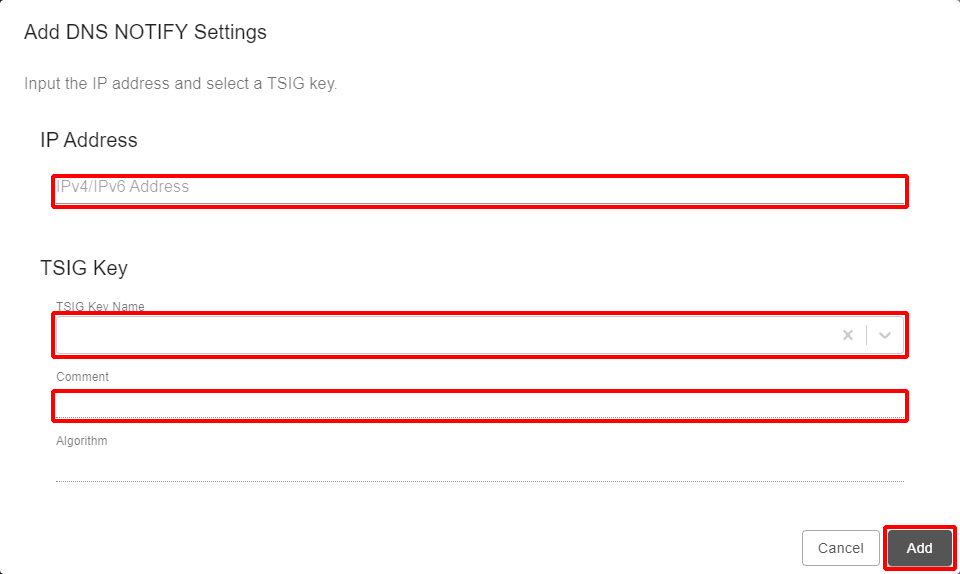
Item Description IP Address Enter the IP address of the secondary name server. *You can enter either IPv4 or IPv6.
*If the IP address of the secondary name server differs from that for accepting NOTIFY, enter the IP address used for accepting NOTIFY.TSIG Key TSIG Key Name Select the TSIG key that you created in "TSIG Key Management."
*If you set a TSIG key, zone transfer is permitted when access is attempted using the set IP address range and set TSIG key. (This setting is an AND condition.)Comment Enter a comment. Algorithm Automatically input by setting the TSIG key. [ Reference ]
To delete the settings, click "
."To edit existing settings, click "
."
Advanced Settings
You can configure settings to not use this service as a DNS server. If you disable the Managed DNS Server, you can no longer use this service as the DNS server except functions regarding zone transfer and NOTIFY with respect to the secondary name server. Configure these settings when you use this service as a hidden master (a server that uses only functions of zone editing, DNSSEC signature, and zone transfer).[ Note ]
If you disable the Managed DNS Server, you can no longer use this service as a DNS server. In normal situations, do not change the setting to "Disabled."
Notification Settings
Set a destination to which a notification is sent when the monitoring status has been changed for the DNS Traffic Management Service. This setting is not referenced for the Managed DNS Service.
- Click "" in "Notification Account."

- Click "."

Fill in the following information about the notification account, and then click "Add."
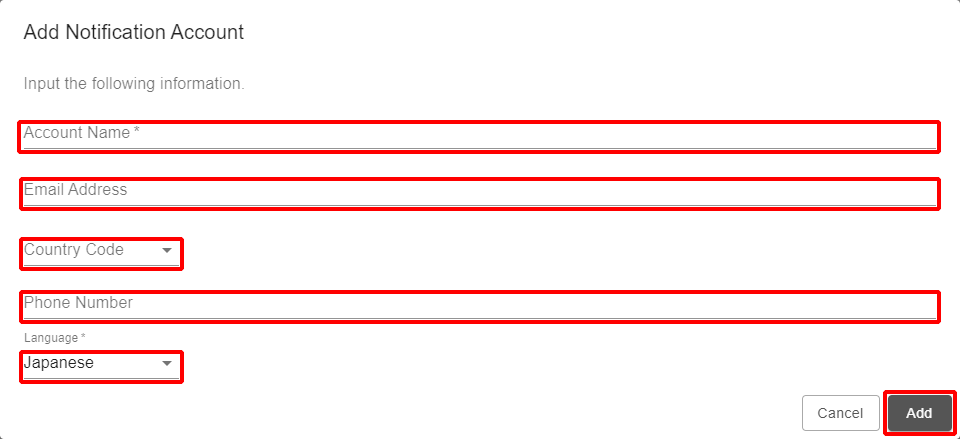
Item Description Account Name Name of the notification destination Email Address Email address used for email notification Country Code Country code to be added to the phone number at the time of phone notification. You can select either 81 (Japan) or 1 (U.S.A.). Phone Number Phone number used for phone notification. Input numbers only. Even if the country code is 81 (Japan), you must input "0" as the first number. Language Language that is used for the notification message. You can select either Japanese or English. [ Reference ]
Only one email address and phone number can be registered for each account. To send notifications to more than one email address and phone number, add accounts.
To delete the settings, click "
."To edit existing settings, click "
."[ Reference ]
The source address of notification emails is "notify@notify.dns-platform.jp" and telephone notifications originate from the telephone number "0120-552-314." Allow incoming emails and calls from the email address and phone number to be accepted in advance.