Set Access Control
By default, when you create a new folder, the folder will inherit the access control setting of the parent folders.
To set access control specific to the folder, you must add new access control to the folder and delete the inherited access control setting.
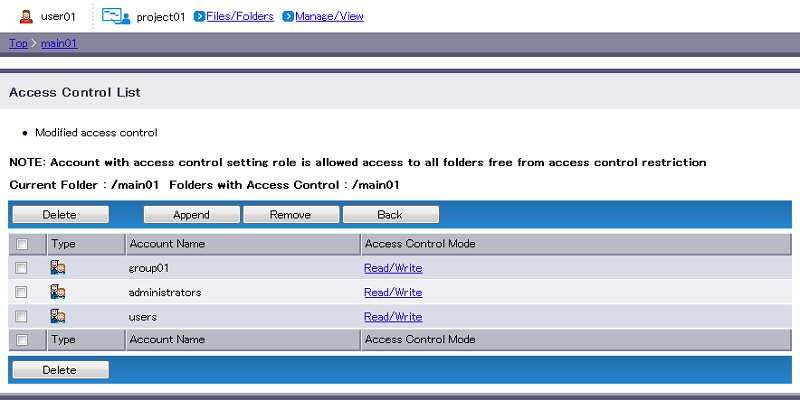
- Navigate to the intended folder (e.g. main01) and click “Access Control Setting”.

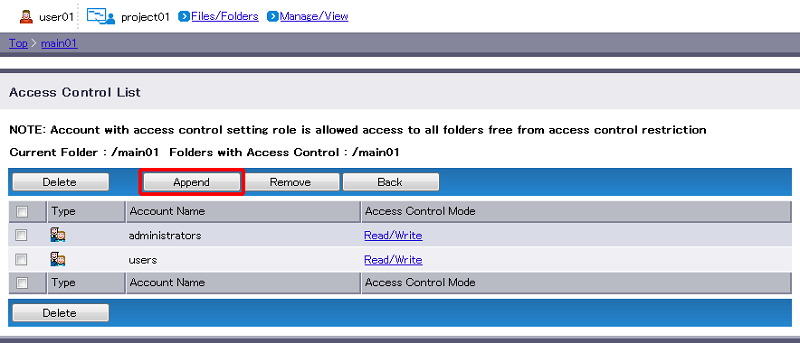
- Click “Append”.
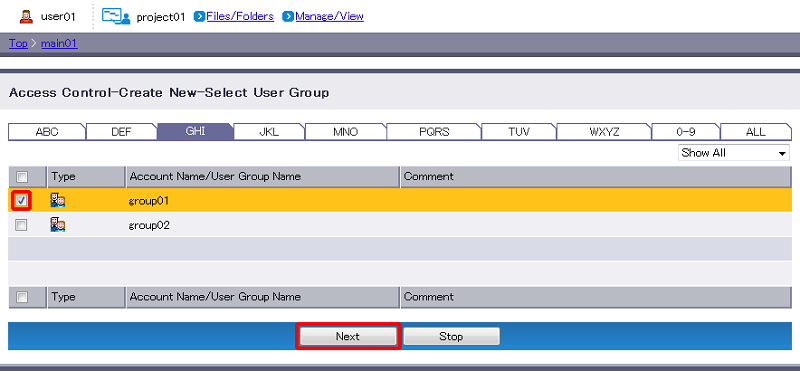
- Select the checkbox of the account or group (e.g. group01) and click “Next”.
[ Reference ]
 represents account, and
  represents group.
- “Show All” lists all accounts and groups in alphabetical order. “Show User Only” and “Show Group Only” list users and groups in alphabetical order. Clicking an alphabet tab will filter the list by alphabets.
- You can select more than one account or group. Checkmarks will be preserved even when you move to a different page.
“Stop” aborts setting of access control and reverts you to Step 2.
[ Note ]
- Same access control will apply to all accounts and groups selected here. You must perform separate access control setting in order to apply different settings.
- Omitting an account or group here will prevent you from setting access control in the next step. Such account or group will have “No Access”, as a result.
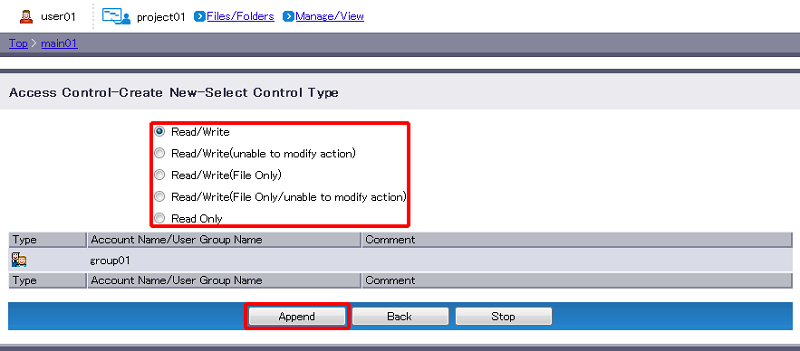
Set access control.
Term Description Read/Write Select to enable Read/Write access. Read Only Select to enable Read Only access. Click “Append”.
- The access control you set will appear in the access control list.